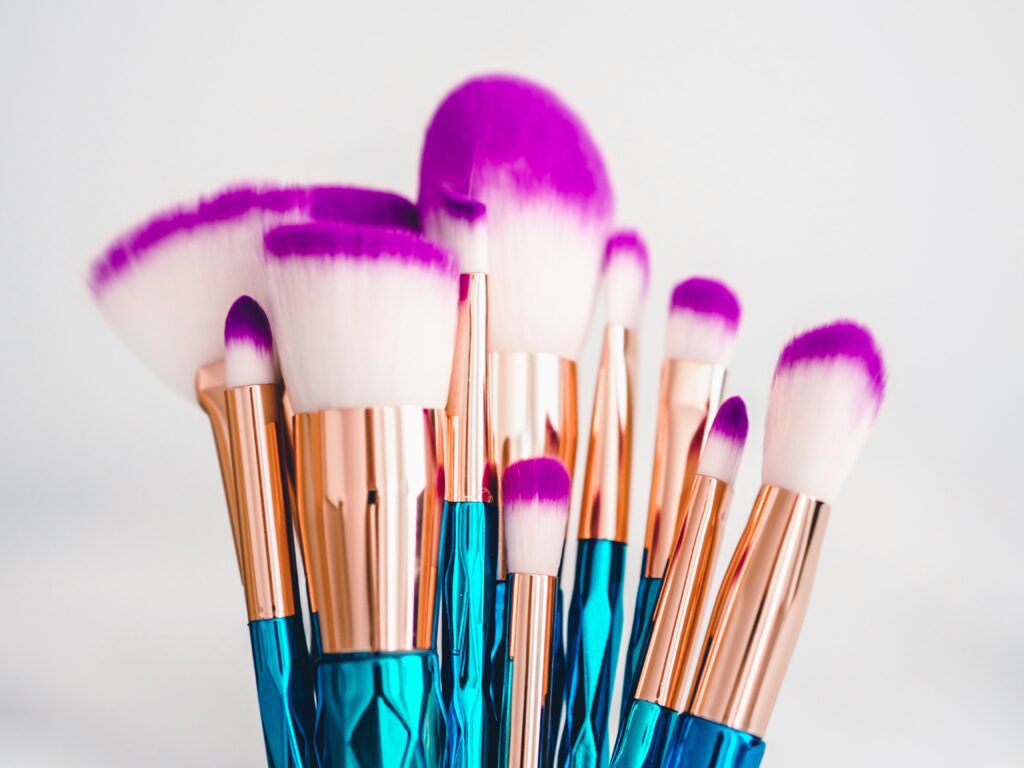
Effortless Makeup Brush Cleaning: A 3-Step Guide
Cosmetic enthusiasts understand that makeup brushes are indispensable tools of the trade. However, these brushes can harbor bacteria and dirt, potentially causing breakouts, allergic reactions, and even infections if not cleaned regularly.

Ensuring that your brushes are in pristine condition is not only essential for hygiene but also prolongs their lifespan, ultimately saving you money. In this article, we will outline three easy steps for effectively cleaning your makeup brushes with minimal fuss.
Step 1: Gather Your Supplies
To start, you’ll need a few basic items, like a gentle, preferably unscented, soap or brush cleaner, a clean, dry towel, a small bowl or your sink, and lukewarm water.
The soap or brush cleanser ought to have a gentle nature that doesn’t cause harm to the bristles, while also demonstrating efficacy in eradicating any makeup remnants. Baby shampoo or gentle dish soap is an affordable and readily available option that is safe for most brushes.
Step 2: Swirl, Rinse, Repeat
Begin by running your makeup brush under lukewarm water, ensuring that the bristles are thoroughly wet. Avoid submerging the brush’s ferrule (the metal part connecting the bristles to the handle), as this can cause the glue to loosen and the brush to deteriorate over time.
Next, place a small amount of soap or brush cleaner in the palm of your hand or in a small bowl. Gently swirl the brush’s bristles in the soap, working up a lather. This process dislodges trapped makeup, dirt, and oils. For brushes heavily coated in makeup, such as foundation brushes, you may need to repeat this step a few times.

After thoroughly cleaning the brush, rinse the bristles with lukewarm water until the water runs clear. Be sure to delicately squeeze out any remaining water from the bristles, being cautious not to pull or stretch them.
Step 3: Air Dry
Lay the clean makeup brush on a dry, clean towel, with the bristles hanging off the edge. This allows air to circulate around the bristles and promotes faster drying. Avoid drying your brushes upright, as water can seep into the ferrule and damage the brush.
Permit your brushes to dry entirely by airing them out, a process that may take a few hours or extend overnight, depending on the brush’s size and thickness. Once your brushes are dry, they’re ready to use!
By following these three easy steps, you’ll keep your makeup brushes clean, hygienic, and in excellent condition for a flawless makeup application every time.
